A junior developer's guide to contributing to ruby events
This guide makes the following one major assumption which is that you have a Github account. If by any chance you’re reading this and don’t have one, create one first and then come back to the guide.
- Fork repo
- Clone repo on your local machine
- Run
bundle install - Create the development database with
rails db:create
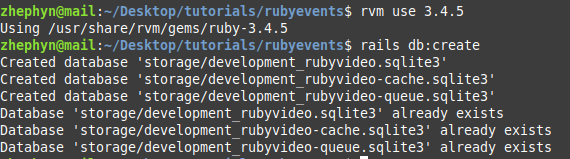
At the time of writing this, the required version of ruby before you can run rails db:create and bundle install is ruby 3.4.5.
If you have an older version, you may run into the error Your Ruby version is 3.2.3, but your Gemfile specified 3.4.5 which is simply solved by installing the required version of Ruby.

If rails db:create ran successfully, you’ll see the output below:
-
Migrate by running
rails db:migrate
-
Seed database with
rails db:seed
-
Start application by running
bin/dev
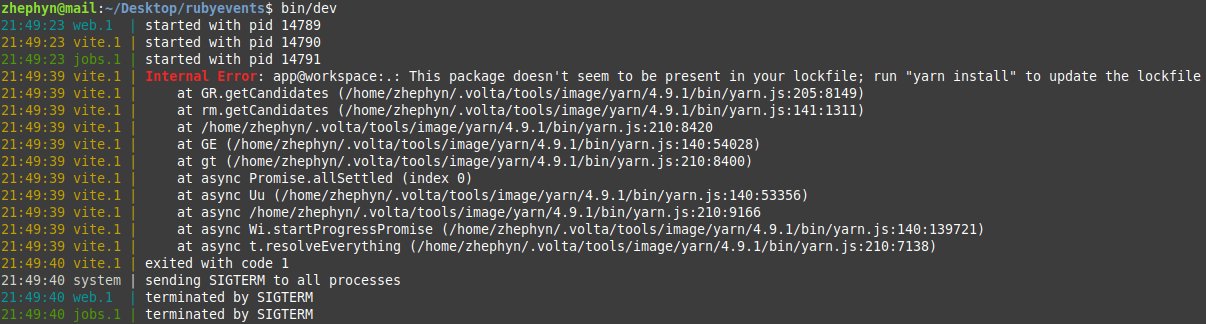
If you don’t have Yarn installed on your machine, running bin/dev will result into the error below.
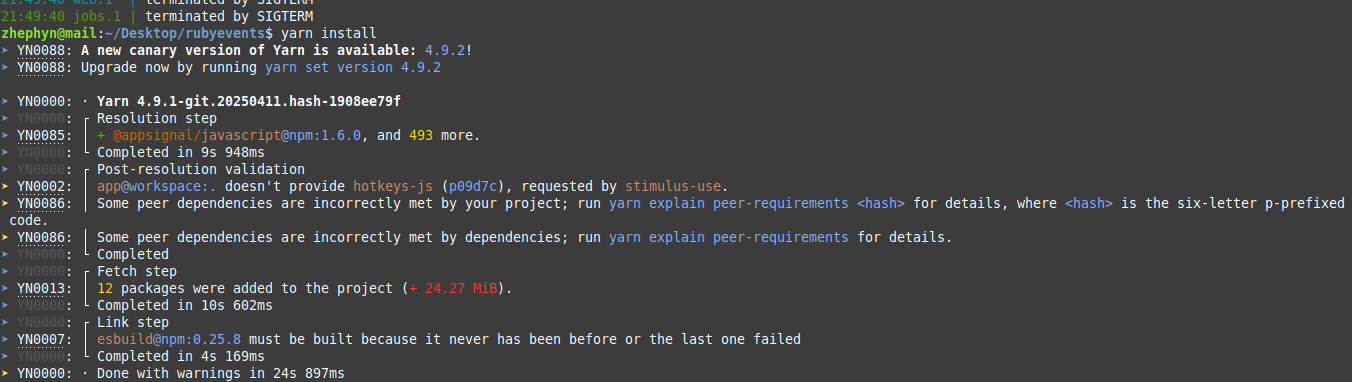
Solving this error is simple. Just run yarn install. You’ll see the output below following successful installation of Yarn.
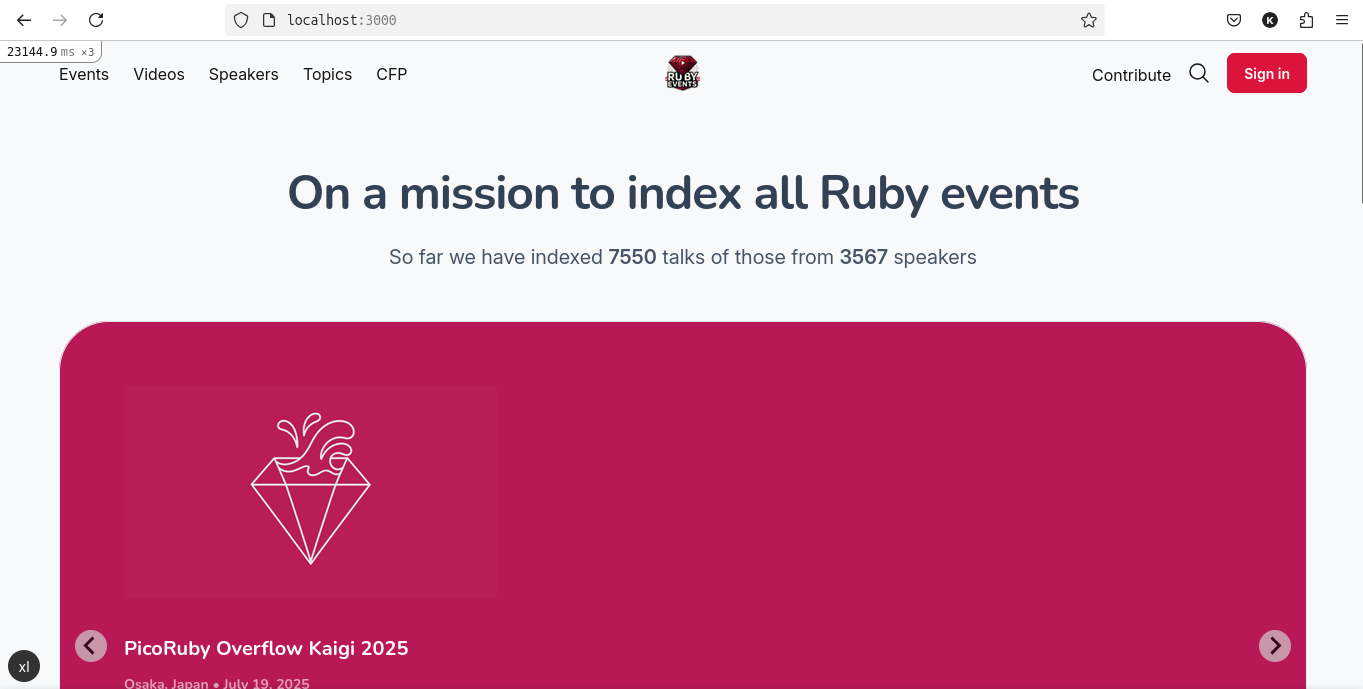
After this setup process, you can now play around with the application in your browser.
On the Ruby Events issues page, there is a ton of issues that you can help out with from features and enhancements to contributing conference data for new and past events.
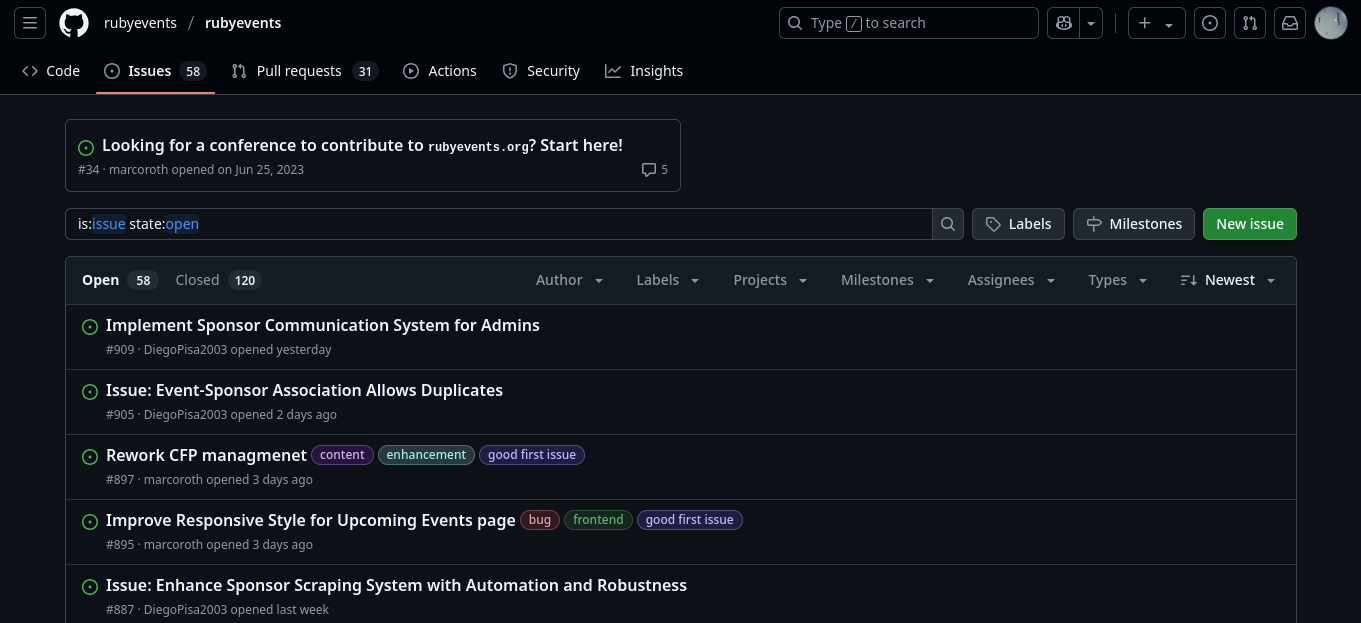
Choose the one you’d like to work on and ask to be assigned. After being assigned, proceed to work on the issue.
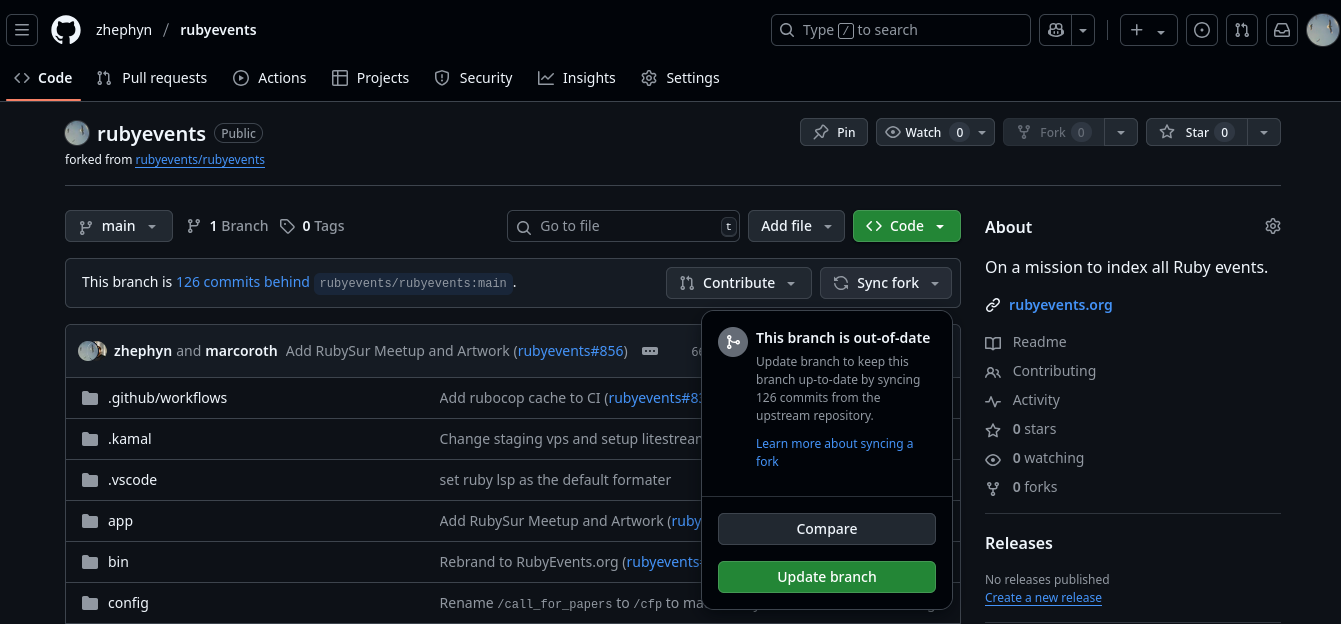
Before you start working on your issue, make sure that your local repository is up to date with the Ruby Events remote repository. To do this, click on the “Sync fork” button and thereafter the “Update branch” button. This will sync the latest changes from the Ruby events repository into your fork on Github.
Locally, while on the main branch, run the command git pull origin main bring your local repository up to date with the Ruby Events remote repository.
Create a new branch name describing the issue you’re working on, switch to that branch.
If for example I chose an issue that involves contributing conference data, I would name my branch after the name of the event whose data I am contributing. I would then switch to that branch with the command below.
git checkout -b add-imaginary-ruby-conference-data
With the above git command, you’ve created a new branch named add-imaginary-ruby-conference-data and switched to it.

Proceed to implement the feature/ add conference data and test it out in the browser to confirm that it’s working as expected.
Before pushing to Github, you may run the bin/lint script to autocorrect any Lint issues on your branch for example those to do with Indentation.
Push your code to github with git push origin add-imaginary-ruby-conference-data. This will create a remote counterpart for your branch which you’ll use to open a pull request.
Open a PR, in the description, describe what your PR is about and what it fixes/adds linking the issue number if it applies. While not mandatory, its a good idea to attach a screenshot/video showing your fix. This makes it easier for the reviewers to get the gist of what your PR is meant to add.
Upon finally opening your PR, the Ruby Events CI will be triggered by default. This is just a bunch of checks which let you know incase some of those lint issues we talked about earlier are still present.
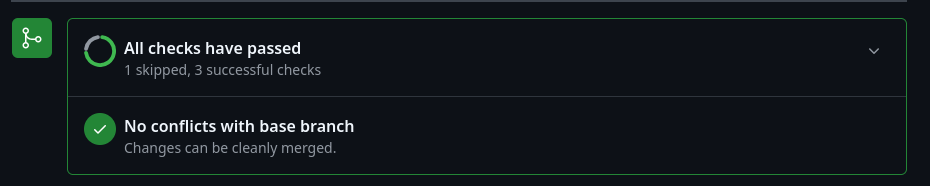
If none of them are present, which is usually the case if you ran bin/lint, the CI will let you know that all tests ran on your PR pass.
Passing CI tests will look like this:
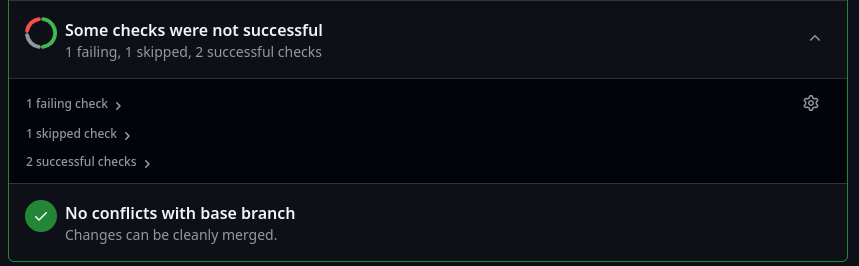
If some of them are failing, you’ll proceed to check which specific one is failing, make the change to solve it locally, commit the new changes, then push your latest changes to Github.
Failing CI tests will look like below:
The CI will again run automatically and hopefully now, your CI tests will all pass.
If everything passes, now onto the good part which is the review process. The maintainers will let you know incase of anything that needs to be changed and potentially how to go about it. Still, just like for the failing lint, locally apply the requested changes by the maintainer, commit and push to Github.
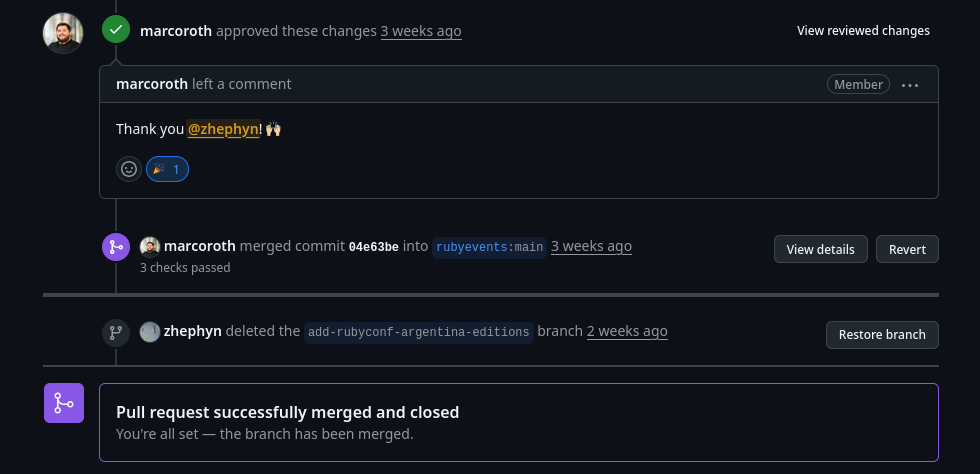
If the CI for your PR passes and the maintainer has agreed that there are no further changes necessary for your PR, your PR will be merged into main. The merging may not happen as quickly as you might want to but eventually it will be merged. A merged PR will look like below:
There are so many issues to work on from the project for all skill levels from juniors to experienced developers. Do check the repo out and work on any issues that may interest you.
For those that may be going through this article and you stumble upon something upon the way, don’t hesitate to reach out. I’ll be more than delighted to help out!